
天朝的网络环境导致 Github 经常无法连接不上,正好手里还有一台 阿里云 的小主机,便打算在主机上搭建一个私人的 Git 服务器。
Git 服务器是否会消耗大量资源?
在决定自己搭建 Git 服务之前,耕读君担心它会占用大量资源,导致服务器做不了其他事情。经过调查和实践,发现作为个人使用,而非大量用户频繁提交,基本上感觉不到 Git 服务的存在,超级轻巧。

关于搭建 Git 服务器,网络上已经有大量详细的教程,耕读君就是跟着教程一步步完成的。为避免重复造轮子,将文章转载至此(原文链接)。当然,耕读君也会将踩过的坑标注出来。
下面进入正文:
服务器端:
1. 安装 Git
1.1 从 yum 上安装 git
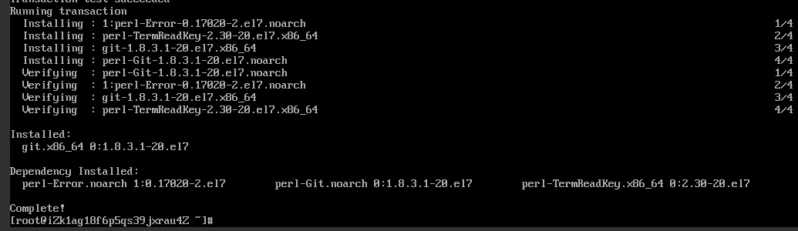
yum -y install git1.2 验证是否安装成功
git --version如果显示当前版本号,说明安装成功

2. 创建 Git 的专属管理账户和密码
2.1 创建 Git 账户
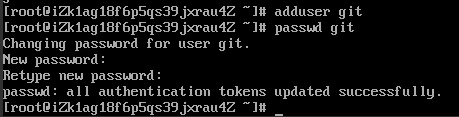
adduser git2.2 设置 Git 账户的密码
passwd git连续两次输入密码后即可
查看 Git 账户是否创建成功
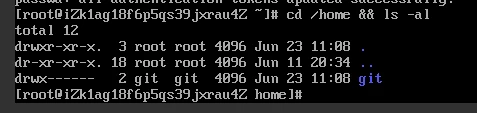
cd /home && ls -al如果有 git 说明安装成功
3. 创建测试 git 仓库
切换到 git 账户
su git进入 git 账号的用户主目录
cd /home/git在用户主目录下创建 test.git 仓库的文件夹
mkdir test.git && cd test.git在 test.git 目录下初始化 git 仓库
git init --bare- 其中
git init --bare是在当前目录创建一个裸仓库,也就是说没有工作区的文件,直接把 git 仓库隐藏的文件放在当前目录下,此目录仅用于存储仓库的历史版本等数据。 - 仓库的路径为:
/home/git/test.git

4. 配置账户免密码登录
4.1 创建 ssh 的默认目录
进入 git 账户的主目录
cd /home/git创建 .ssh 的配置,如果此文件夹已经存在请忽略此步
mkdir .ssh4.2 创建校验公钥的配置文件
进入 .ssh 目录并创建 authorized_keys 文件,此文件存放客户端远程访问的 ssh 的公钥
cd /home/git/.ssh
touch authorized_keys
设置权限
chmod 700 /home/git/.ssh/
chmod 600 /home/git/.ssh/authorized_keys
5. 打开 RSA 认证
Centos 7.4 以上版本的系统请跳过
切换回 root 用户
su root
进入 /etc/ssh 目录,编辑 sshd_config
cd  /etc/ssh
vi ssh_config
按 i 进入插入模式,打开以下三个配置的注释(带 # 为注释), 按 ESC 退出插入模式,按 :wq 保存
RSAAuthentication yes
PubkeyAuthentication yes
AuthorizedKeysFile .ssh/authorized_keys

# 可以通过 vim 的正则搜索快速定位, 命名模式下 :/RSAA
保存后重启 sshd 服务
systemctl restart sshd
CentOS7.4 弃用 RSAAuthentication 支持 : https://ashub.cn/articles/21
Linux 系统下如何配置 SSH_Centos7 ssh 连接配置 CentOS7 下安全配置 : http://www.linuxdown.net/install/config/20…
CentOS7.4 配置 SSH 登录密码与密钥身份验证踩坑 :https://www.cnblogs.com/Leroscox/p/9627809…
6. 禁止客户端 shell 登录
如果 git 客户端可以直接通过 shell 使用 git 账户来远程登录服务器,这样是不安全的。
在 /home/git 下面创建 git-shell-commands 目录,并把目录的拥有者设置为 git 账户。可以直接用 git 账号登录服务器终端操作
su git
mkdir /home/git/git-shell-commands
修改 /etc/passwd 文件
su root
vim /etc/passwd
可以通过 vim 的正则搜索快速定位到这行 :/git:x
找到下图所示内容,其中 1000 可能是别的数字
将
git:x:1000:1000::/home/git:/bin/bash 改为
git:x:1000:1000::/home/git:/bin/git-shell可能用到的快捷键:
- 最好不要直接改,可以先复制一行,然后注释掉一行,修改一行,保留原始的
- vim 快捷键: 命令模式下:yy 复制行,p 粘贴 0 光标到行首 $ 到行尾 x 删除一个字符 i 进入插入模式
- 修改完后退出保存: esc 进入命令模式, 输入::wq! 保存退出。
服务端配置到此全部完成。
注意,此处有个坑!
上面的代码将 git 用户的 shell 从 bash 改成了不存在的程序,因此实际上还是可以通过 SSH 登录 git 账户,只不过执行任何命令都会返回错误。就算先通过其他用户登录,切换成 git 用户也无法执行命令。
这就造成一个结果:我们需要使用 root 用户来创建更多 git 仓库,此时 git clone 没有问题,git pull 或者 git push 就会报错,因为仓库所有者为 root,git 用户权限不足。
解决方案,初始化仓库后,将仓库所有者更改成 git 用户:chown -R git:git 仓库目录
客户端:
1. 与服务端在同一主机下的客户端配置
1.1 安装 git
由于是与服务端放在同一主机下,在安装服务端时已经安装
1.2 客户端配置
设置用户名和邮箱
git config --global user.name "client_username"
git config --global user.email "example@mail.com"
查看是否存在 ssh keys
cd ~/.ssh
创建 ssh keys
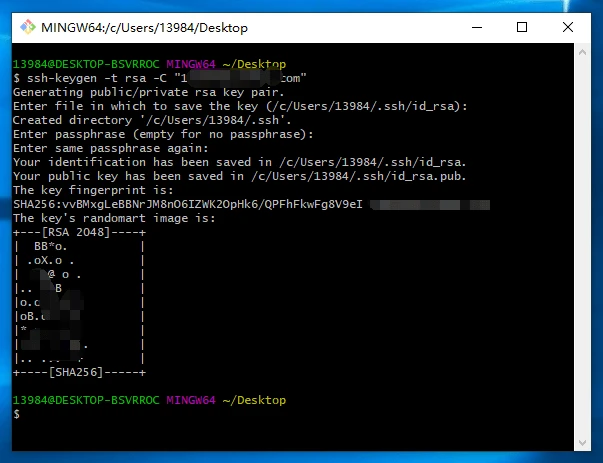
ssh-keygen -t rsa -C "example@mail.com"碰到需要输入的地方直接按回车键,最后创建成功后的结果如下
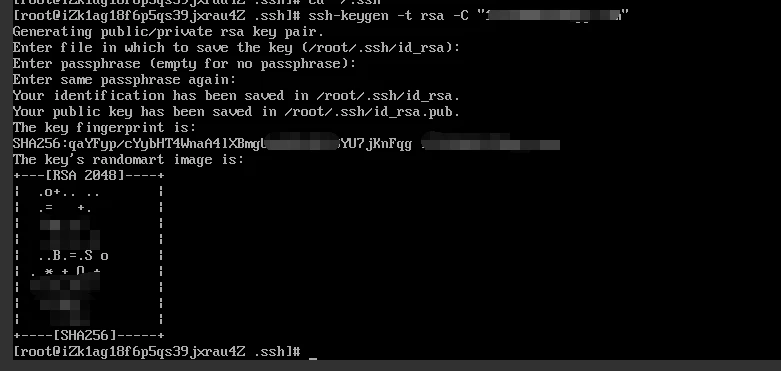
将生成的文件复制到 git 目录下
cp /root/.ssh/id_rsa.pub /home/git/.ssh/test.pub将 test.pub 文件中的内容追加到 authorized_keys 中
cat test.pub >> authorized_keys1.3 克隆仓库
创建本地文件夹
mkdir test_project && cd test_project克隆远程仓库
git clone git@ip地址:/home/git/test.git这时候,会提示克隆的仓库是空的,现在仓库的确是空的,所以没有报错

ls 查看目录下是否存在 test 文件夹,如果存在,说明克隆成功

2. 远程客户端配置(Windows 10)
2.1 安装 Windows 版 Git 工具
双击 Git-2.14.0-64-bit.exe 运行
选择安装目录
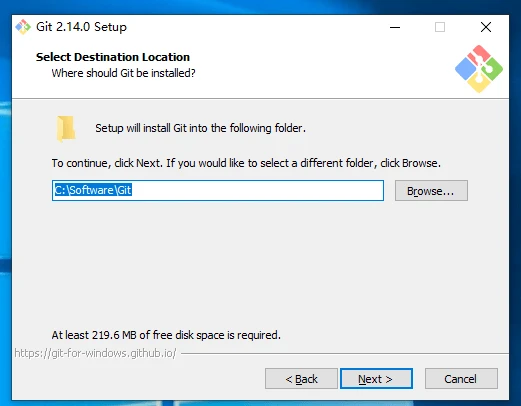
点击 Next
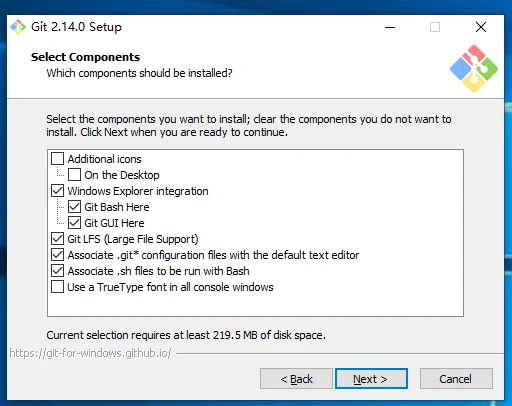
点击 Next
点击 Next
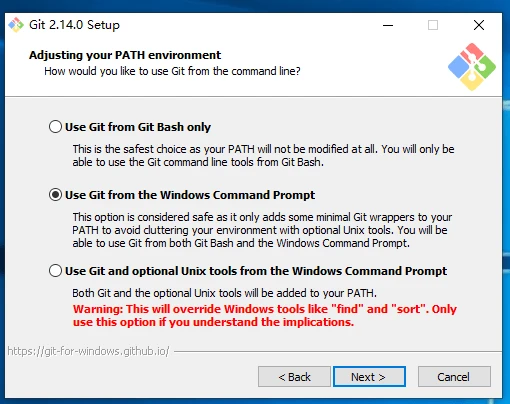
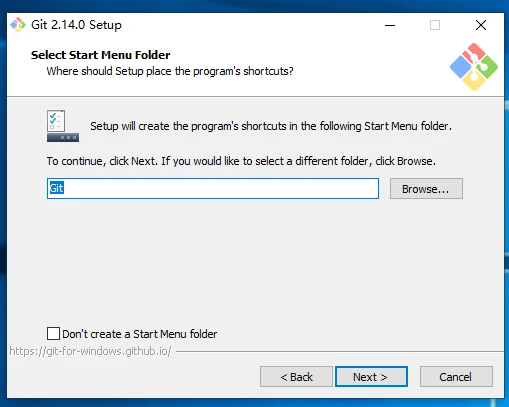
点击 Next
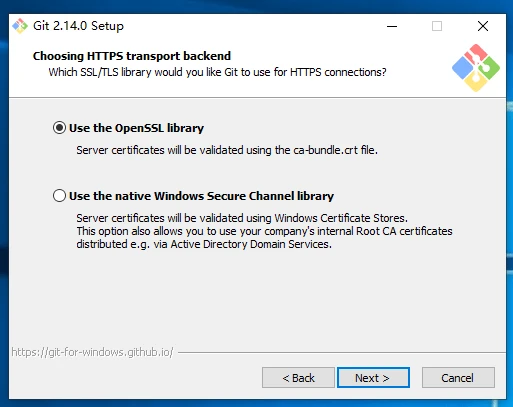
点击 Next
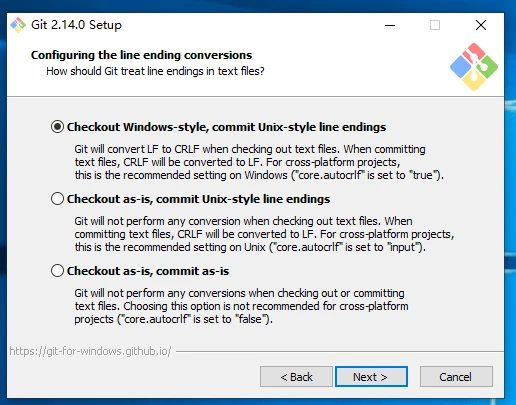
点击 Next

点击 Next
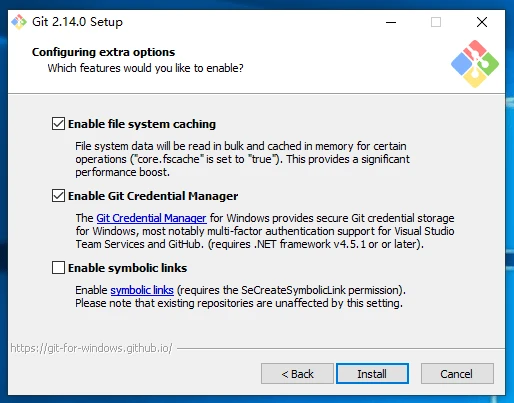
点击 Install
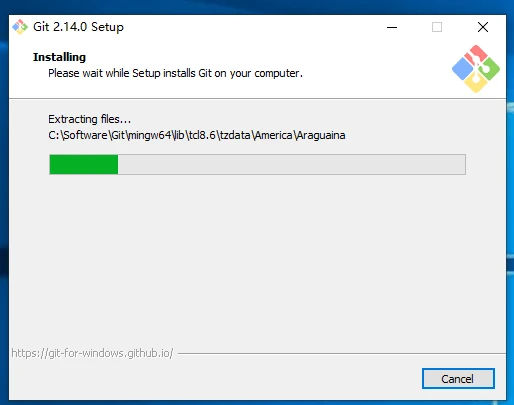
等待安装完成

在桌面右键,如果显示
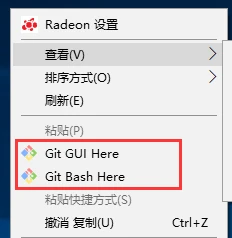
说明安装成功
2.2 客户端配置
设置用户名和邮箱
git config --global user.name "client_username"
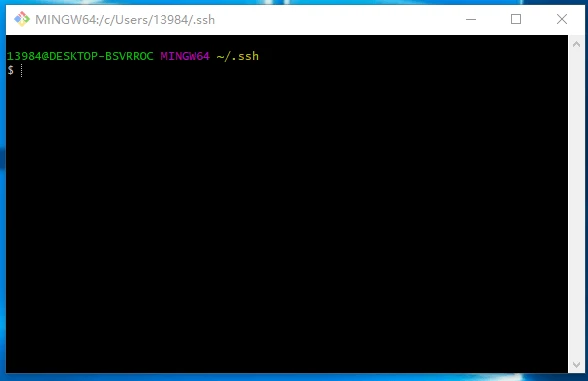
git config --global user.email "example@mail.com"检查是否已经拥有 ssh 公钥和私钥
进入目录 C:\Users\你的用户名 查看是否有 .ssh 文件夹,此文件夹下是否有如下两个文件

如果有,可以直接使用,如果没有,那么用 ssh-keygen 创建 ssh 的私钥
有多台服务器、多个账户,或者多个秘钥?可以:创建 config 文件来管理。
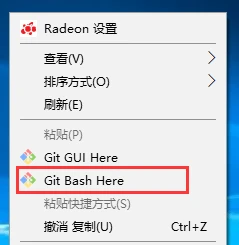
右键桌面,选择 Git Bash Here
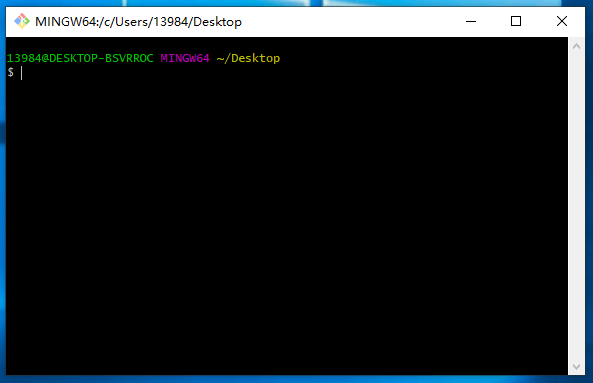
创建 ssh keys
ssh-keygen -t rsa -C "example@mail.com"碰到需要输入的地方直接按回车键,最后创建成功后的结果如下
手动将公钥添加到服务器中,先找到 C:\Users\你的用户名.ssh\id_rsa.pub 这个文件所在目录
在当前目录打开 Git Bash Here
把本地的 id_rsa.pub 文件拷贝到 git 服务器
scp ./id_rsa.pub root@你的ip地址:/home/git/.ssh/test.pub
由于上面的步骤禁止了 git 客户端 shell 登录,所以这里只能使用 root 账户拷贝文件
登录服务器,找找上一步上传的 test.pub 文件,目录为 /home/git/.ssh/
将 test.pub 文件中的内容追加到 authorized_keys 中
cat test.pub >> authorized_keys2.3 克隆仓库
创建本地文件夹
mkdir test_project && cd test_project克隆远程仓库
git clone git@ip地址:/home/git/test.git这时候,会提示克隆的仓库是空的,现在仓库的确是空的,所以没有报错

ls 查看目录下是否存在 test 文件夹,如果存在,说明克隆成功

本地提交与服务器端的拉取测试
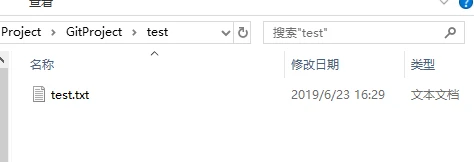
在上一步克隆的 test 文件夹中新建一个文件 test.txt
在当前目录中打开 Git Bash Here,
git status
git add -A;
git commit -m'test add'
git push origin master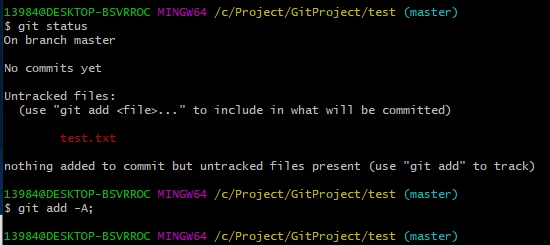
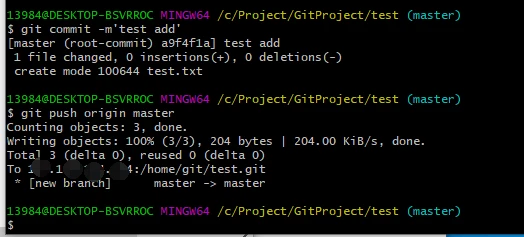
如果出现如上提示,说明本地提交成功
切换到服务器端,进入 1.3 步骤中创建的文件夹下(请根据实际情况输入目录)
cd /test_project/test
git pull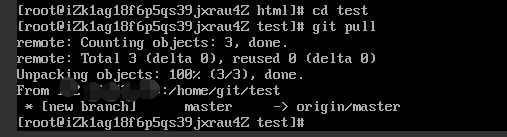
如果出现如上提示,说明更新成功
结语
至此,整个 Git 服务的部署与使用就全部搭建完成,部署过程中使用的命令所代表的功能请自行百度,就不再一一说明了。
感谢原作者的分享,原文链接:https://learnku.com/articles/30215


